How to clean your asphalt driveway after a long winter
7 April 2020
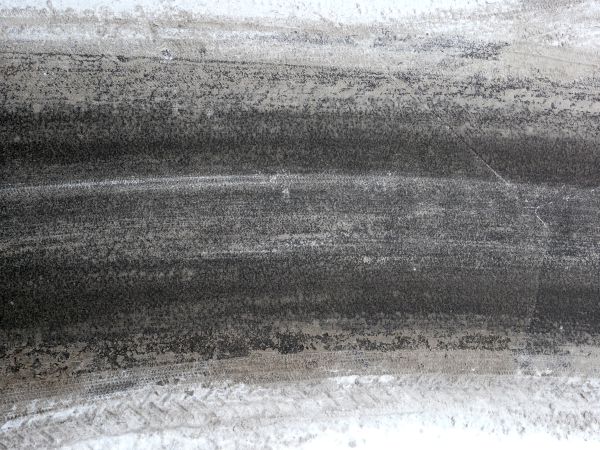
As the snow, ice and slush slowly melt away from your driveway after the long winter, it’s common to find damage to your asphalt. If you’ve used salt or other de-icing products over the winter, the damage can be even more severe. (Check out our blog post about the best way to de-ice your driveway to avoid this problem next winter). Asphalt may seem solid, but it has a high liquid concentration and is affected by the extreme temperatures in the Gatineau region. As such, it’s important to clean your driveway properly each spring to increase the longevity of your driveway.
1.Deep clean your asphalt
Using a brush or a broom, remove all dead leaves, gravel, and any other dust and debris from your driveway. Take extra care to remove maple keys, pinecones, acorns, and any other plant seeds that could find their way into a crack and then damage your asphalt when the plant grows and roots take form.
For the best results, use a mix of detergent and water to clean your asphalt. Whether you use detergent and water, or another recommended product, it’s essential to clean any signs of oil from your asphalt surface. By thoroughly cleaning the surface, you’ll be better able to assess the condition of your asphalt and be able to easily describe your situation when you call your trusted paving company to find out what steps should be taken to repair or replace your driveway.
2.Perform the necessary repairs
If your asphalt is showing any signs of cracking or potholes, it’s vital that you act quickly to avoid further unnecessary and potentially costly damage. Simply use asphalt filler from your local hardware store to fill or “join” the cracks and holes. If the damage is too major for a DIY fix, naturally you’ll want to consult a professional to help you complete the repairs or, if necessary, redo your asphalt.
3.Apply a sealant
We advise protecting your asphalt with a sealant every two years. Not only will you enjoy the beauty that a sealed driveway adds to your curb appeal, this process prolongs the life of your asphalt surfaces. Small cracks are a tell-tale sign that the bitumen in your asphalt has deteriorated to the point of requiring a coat of sealant.
For the DIYers, it simply takes a good bitumen sealant and a roller designed for the job to apply the sealant on the surface of your driveway. Insider tip: mark your borders with tape to protect your grass, cobblestone, pavement and other surfaces that touch up against your asphalt.
We advise caution and restraint when tempted to “over seal” your driveway, however. As much as you’d like a smooth black surface all the time, if you repeat the sealing process too often you’ll end up with a thick coat that is actually counter-productive to the goal of avoiding cracks.
And there you have it! By following these easy steps, you can avoid costly problems and extend the life of your asphalt so that you can enjoy your driveway for many seasons to come. As always, if you have any questions about your asphalt driveway, sidewalk or parking lot, don’t hesitate to reach out to the team at Pavage Massie – we’re happy to help!
Happy spring!


